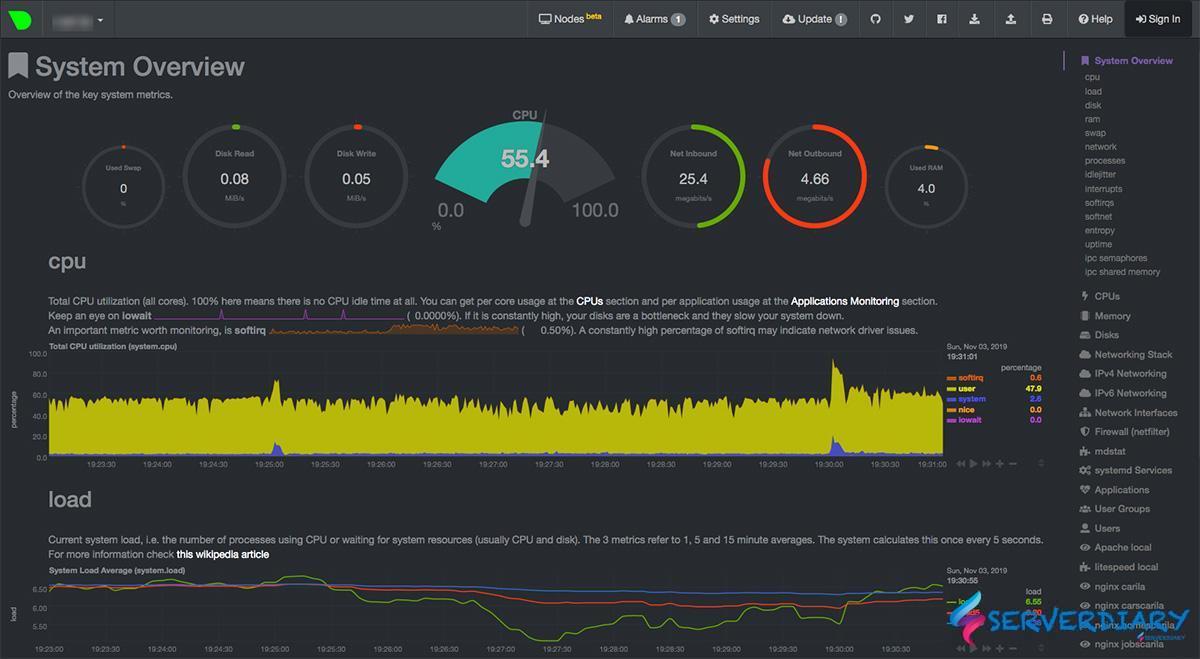
This article will tell how to install Netdata to monitor your linux system such as Linux Centos 7, Centos 8 or Ubuntu.
Netdata is very power full real time monitoring tools for Linux that are monitor all system health.
The best way to install Netdata is using one line command from Netdata, including required system packages, compile Netdata, install Netdata and start Netdata.
How to install Netdata real time monitoring
Below is single line command to install Nedata
# bash <(curl -Ss https://my-netdata.io/kickstart.sh)
There is no problem when you installing Netdata on Centos 7.
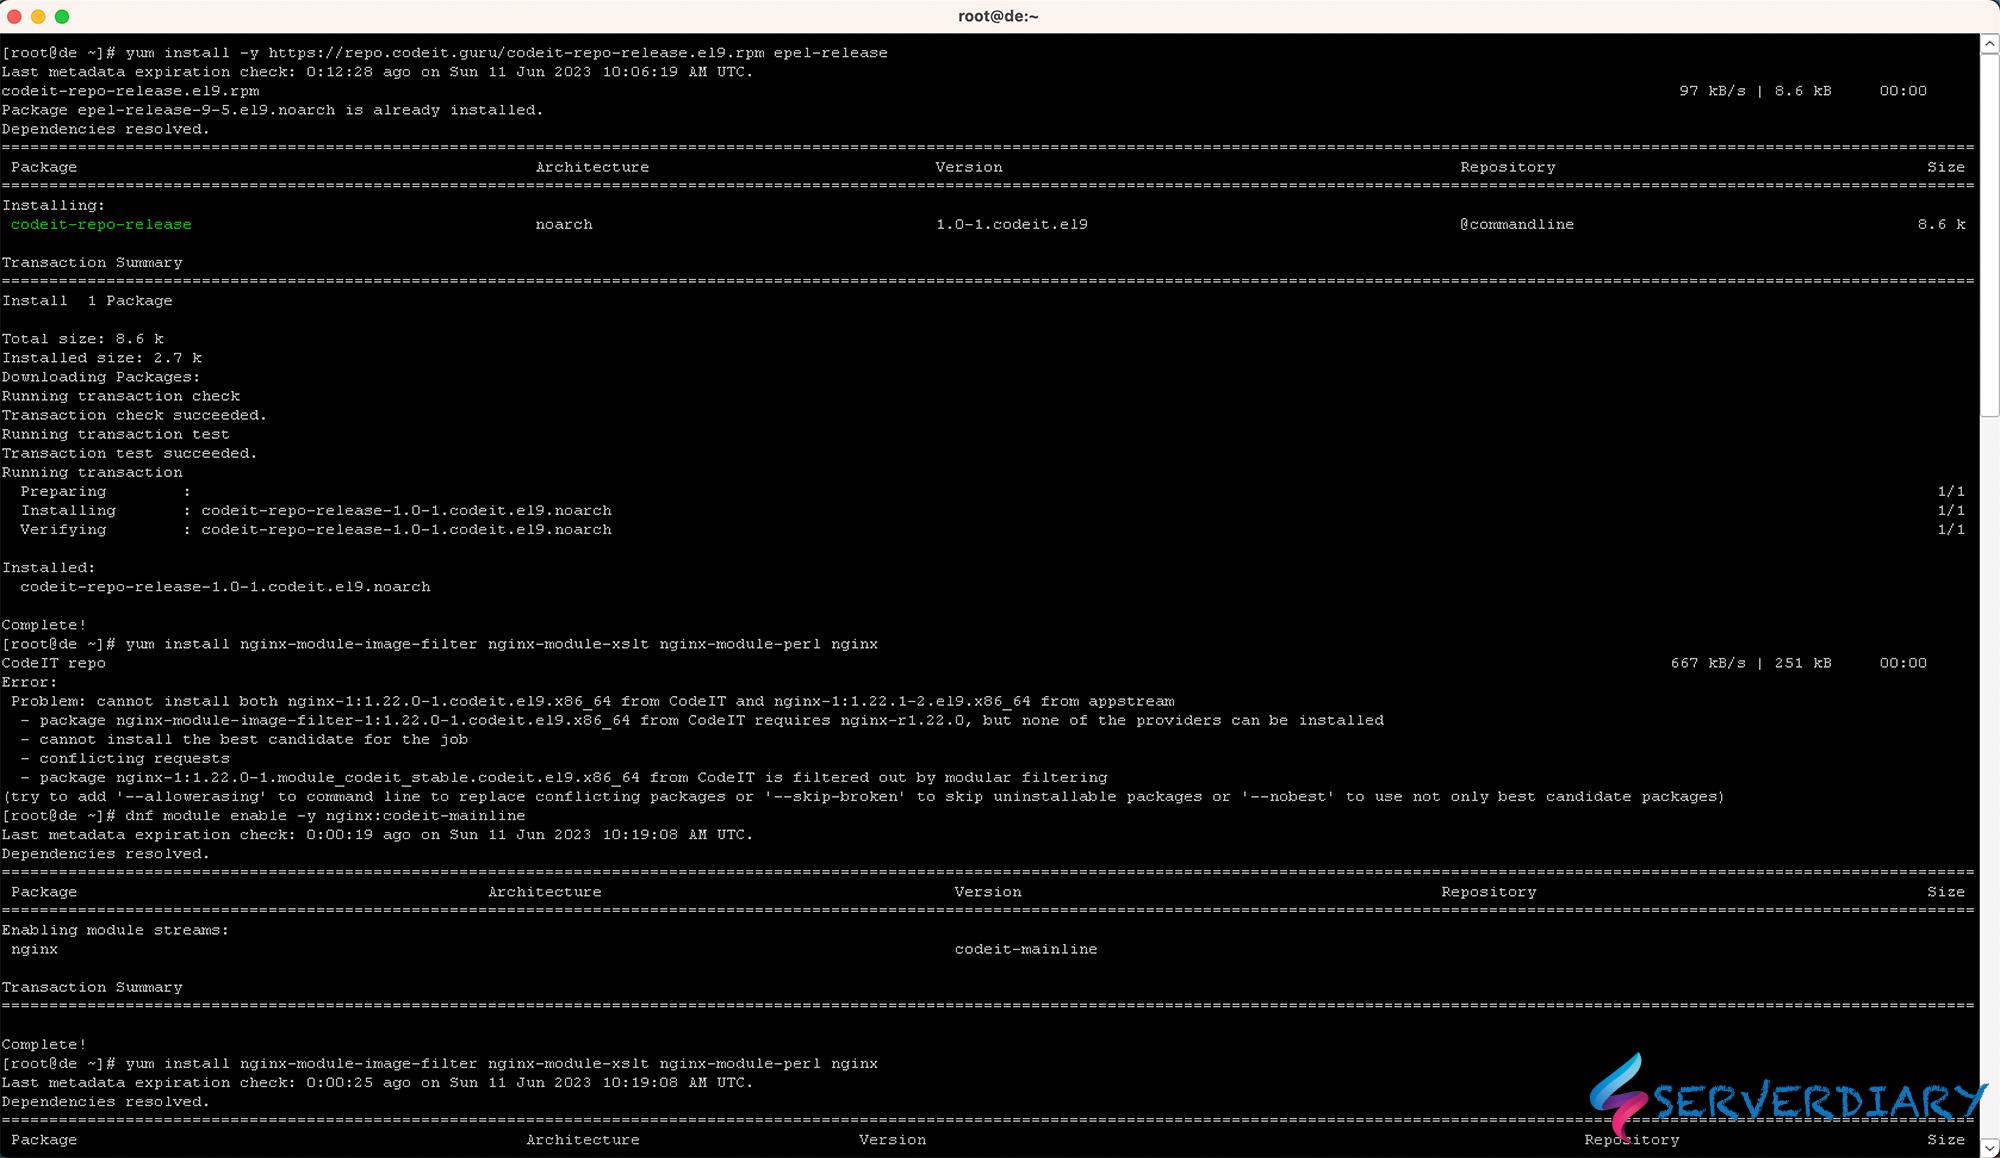
But on Centos 8, if you see an error, just ignore and enter to start Netdata installation.
yum install Judy-devel autoconf-archive autogen libmnl-devel libuv-devel lz4-devel nmap-ncat python
Last metadata expiration check: 2:35:55 ago on Sun Nov  3 10:20:08 2019.
No match for argument: Judy-devel
No match for argument: autoconf-archive
No match for argument: autogen
No match for argument: libmnl-devel
No match for argument: libuv-devel
No match for argument: python
There are following alternatives for "python": python2, python36
The problem is Netdata doen not have user authentication.
So we will use Nginx http authentication or Apache http authentication.
Add nginx upstream configuration like below:
upstream netdata {
    server 127.0.0.1:19999;
    keepalive 64;
}
Add the following code to server block:
server {
	..........
	..........
	location ~ /netdata/(?.*) {
		auth_basic "Restricted";
		auth_basic_user_file /etc/nginx/.htpasswd;
		proxy_redirect off;
		proxy_set_header Host $host;

		proxy_set_header X-Forwarded-Host $host;
		proxy_set_header X-Forwarded-Server $host;
		proxy_set_header X-Forwarded-For $proxy_add_x_forwarded_for;
		proxy_http_version 1.1;
		proxy_pass_request_headers on;
		proxy_set_header Connection "keep-alive";
		proxy_store off;
		proxy_pass http://netdata/$ndpath$is_args$args;

		gzip on;
		gzip_proxied any;
		gzip_types *;
	}
	.........
	.........
}
Create user authentication, for example username is serverdiary
# echo -n 'serverdiary:' >> /etc/nginx/.htpasswd
# openssl passwd yourpassword >> /etc/nginx/.htpasswd
Netdata configuration to monitor Nginx
Enable Nginx status to monitor your Nginx, copy code below and save to /etc/nginx/conf.d/status.conf
server {
  listen 80;
  server_name localhost 127.0.0.1;

  access_log off;
  allow 127.0.0.1;
  deny all;

  location /nginx_status {
    # Choose your status module
    # freely available with open source NGINX
    stub_status;
    # for open source NGINX < version 1.7.5
    # stub_status on;
	stub_status on;
    # available only with NGINX Plus
    # status;
  }
  location /stub_status {
    # Choose your status module
    # freely available with open source NGINX
    stub_status;
    # for open source NGINX < version 1.7.5
    # stub_status on;
	stub_status on;
    # available only with NGINX Plus
    # status;
  }
  location / {
    root   /usr/share/nginx/html;
	index  index.html index.htm;
  }
}
Restart Nginx to load new configuration
# systemctl restart nginxCreate file /etc/netdata/python.d/nginx.conf and paste the following code
nginx_log:
  name: 'local'
  path: '/var/log/nginx/access.log'
Netdata configuration to monitor Apache
Enable Extended Status on your apache configuration, create /etc/httpd/conf.d/status.conf and paste code below
ExtendedStatus on
<VirtualHost *:80>
	ServerAdmin admin@cari.co
	DocumentRoot /var/www/html/localhost
	ServerName localhost
	ServerAlias 127.0.0.1
	ErrorLog logs/localhost-error_log
	CustomLog logs/localhost-access_log combined

	# Apache 2.2
	<Location /server-status>
		SetHandler server-status
		Order Deny,Allow
		Deny from all
		Allow from localhost 127.0.0.1 192.168.0.0/16
	</Location>
	# Apache 2.4
	<Location /server-status>
		SetHandler server-status
		Require ip 10.0.0.0/8
		Require ip 192.168.0.0/16
		Require ip 172.16.0.0/12
		Require ip 127.0.0.1
		Require	ip ::1
	</Location>
</VirtualHost>
Restart apache / httpd to reload new configuration
# systemctl restart httpdCreate file /etc/netdata/python.d/apache.conf and paste the following code
# Please change apache port to your port, this server running on port 8080
localhost:
  name : 'local'
  url  : 'http://localhost:8080/server-status?auto'

localipv4:
  name : 'local'
  url  : 'http://127.0.0.1:8080/server-status?auto'

localipv6:
  name : 'local'
  url  : 'http://[::1]:8080/server-status?auto'
How to use Nedata Authentication behind Apache / httpd using mod_proxy
Create authentication htpasswd file in /etc/httpd/conf/.htpasswd
htpasswd -c /etc/httpd/conf/.htpasswd netdatauserThen add this configuration to your virtual host
<VirtualHost *:80>
	DocumentRoot /var/www/html/localhost
	ServerName yourdomain.com

	RewriteEngine On
	ProxyRequests Off
	ProxyPreserveHost On

	# Local Netdata server accessed with '/netdata/', at localhost:19999
	ProxyPass "/netdata/" "http://localhost:19999/"  connectiontimeout=5 timeout=30 keepalive=on
	ProxyPassReverse "/netdata/" "http://localhost:19999/"

	# if the user did not give the trailing /, add it
	# for HTTP (if the virtualhost is HTTP, use this)
	RewriteRule ^/netdata$ http://%{HTTP_HOST}/netdata/ [L,R=301]
	# for HTTPS (if the virtualhost is HTTPS, use this)
	# RewriteRule ^/netdata$ https://%{HTTP_HOST}/netdata/ [L,R=301]
	<Location /netdata>
		AuthType Basic
		AuthName "Authentication Required"
		AuthUserFile "/etc/httpd/conf/.htpasswd"
		Require valid-user
	</Location>
</VirtualHost>
Restart Netdata with command
# systemctl restart netdataOpen browser and check on http://yourdomain/netdata


Great article, unfortunately does not work on Cent OS 8 default install.
[root@web2 conf.d]# systemctl restart httpd
Job for httpd.service failed because the control process exited with error code.
See “systemctl status httpd.service” and “journalctl -xe” for details.
[root@web2 conf.d]# systemctl status httpd.service
● httpd.service – The Apache HTTP Server
Loaded: loaded (/usr/lib/systemd/system/httpd.service; enabled; vendor preset: disabled)
Drop-In: /usr/lib/systemd/system/httpd.service.d
└─php-fpm.conf
Active: failed (Result: exit-code) since Wed 2020-01-08 11:57:36 EET; 19s ago
Docs: man:httpd.service(8)
Process: 18133 ExecStart=/usr/sbin/httpd $OPTIONS -DFOREGROUND (code=exited, status=1/FAILURE)
Main PID: 18133 (code=exited, status=1/FAILURE)
Jan 08 11:57:36 web2 systemd[1]: Starting The Apache HTTP Server…
Jan 08 11:57:36 web2 httpd[18133]: httpd: Syntax error on line 356 of /etc/httpd/conf/httpd.conf: Syntax error on line 3 of /etc/httpd/conf.d/status.conf: /etc/httpd>
Jan 08 11:57:36 web2 systemd[1]: httpd.service: Main process exited, code=exited, status=1/FAILURE
Jan 08 11:57:36 web2 systemd[1]: httpd.service: Failed with result ‘exit-code’.
Jan 08 11:57:36 web2 systemd[1]: Failed to start The Apache HTTP Server.
[root@web2 conf.d]# nano status.conf
[root@web2 conf.d]# nano /etc/httpd/conf/httpd.conf
Please check /etc/httpd/conf/httpd.conf on line 356. Please post line 356, there is an error syntax on that line.