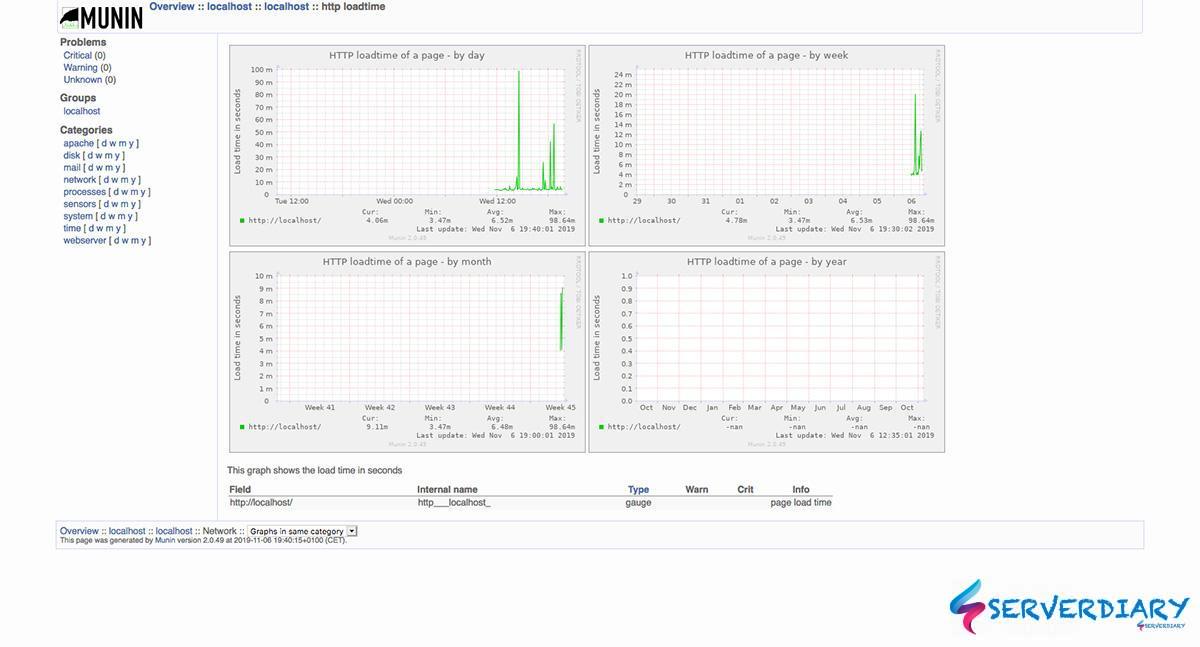
Munin the power full monitoring tool monitor all of your servers or computers and remembers what it saw.
It presents all the information in graphs through a web interface and also available on Android.
Munin has plug and play capabilities. After completing a installation a high number of monitoring plugins will be playing with no more effort.
Using Munin, you can easily monitor the performance of your servers, computers, networks, SANs, applications, weather measurements and whatever comes to mind.
It will makes it you easily to determine “what’s different today” when a performance problem found.
Munin uses the excellent RRDTool written by Tobi Oetiker) and the framework is written in Perl, while plugins may be written in any language.
Also Read: How to install Netdata to monitor your linux system
Munin also has a master/node architecture in which the master connects to all the nodes at regular intervals and asks them for data.
You can read more about Munin on http://munin-monitoring.org
How to install Munin on Centos 7
Enable Epel repository
# yum -y install epel-releaseUpdate system with command
# yum updateInstall Munin and Apache
# yum install munin munin-node httpd -yStart and enable munin-node
# systemctl enable munin-node
# systemctl start munin-node
Create configuration on /etc/httpd/conf.d/httpd.conf
Alias /munin /var/www/html/muninOptions FollowSymLinks AllowOverride All Order allow,deny Allow from all AuthUserFile /etc/munin/munin-htpasswd AuthName "serverdiary" AuthType Basic require valid-user ExpiresActive On ExpiresDefault M310 ScriptAlias /munin-cgi/munin-cgi-graph /var/www/cgi-bin/munin-cgi-graphAuthUserFile /etc/munin/munin-htpasswd AuthName "serverdiary" AuthType Basic require valid-user
Create authentication file on /etc/munin/munin-htpasswd
# htpasswd -c /etc/munin/munin-htpasswd serverdiaryChange owner of /var/www/html/munin to munin
# chown -R munin.munin /var/www/html/muninConfigure Munin to monitor Apache
Create apache server status configuration on /etc/httpd/conf.d/server-status.conf
ExtendedStatus onSetHandler server-status Deny from all Allow from 127.0.0.1 Allow from localhost
Create munin configuration on /etc/munin/plugin-conf.d/apache_
[apache_processes]
env.url http://localhost:%d/server-status?auto
env.ports 80

[apache_accesses]
env.url http://localhost:%d/server-status?auto
env.ports 80

[apache_volume]
env.url http://localhost:%d/server-status?auto
env.ports 80

[apache_memmory]
env.apuser apache
env.binname httpd

[apache_threads]
env.apuser apache
env.binname httpd
Add Apache plugins to /etc/munin/plugins directory using symbolic link
# ln -s /usr/share/munin/plugins/apache* /etc/munin/plugins/Restart apache and munin-node
# systemctl restart httpdConfigure Munin to monitor Nginx
Create Nginx server status configuration on /etc/nginx/conf.d/server-status.conf
server {
  listen 80;
  server_name localhost 127.0.0.1;

  access_log off;
  allow 127.0.0.1;
  deny all;

  location /nginx_status {
    stub_status;
	stub_status on;
  }
  location /stub_status {
    stub_status;
	stub_status on;
  }
  location / {
    root   /usr/share/nginx/html;
	index index.html index.htm;
  }
}
Create Munin plugin configuration on /etc/munin/plugin-conf.d/nginx_
[nginx*]
env.url http://localhost/nginx_status

[nginx_error]
env.logpath    /var/log/nginx
env.logpattern *.error.log
Add Nginx plugins to /etc/munin/plugins directory using symbolic link
# ln -s /usr/share/munin/plugins/nginx* /etc/munin/plugins/If you use Nginx as reverse proxy, add this configuration to Nginx server
server {
	listen   *:443 ssl http2;
	.....
	.....
	location ~ ^/(munin|munin-cgi/munin-cgi-graph) {
		proxy_set_header        Host $host;
		proxy_set_header        X-Real-IP $remote_addr;
		proxy_set_header        X-Forwarded-For $proxy_add_x_forwarded_for;
		proxy_set_header        X-Forwarded-Proto $scheme;

		proxy_pass          http://localhost;
		proxy_connect_timeout 90;
		proxy_send_timeout 90;
		proxy_read_timeout 90;

		client_max_body_size 10m;
		client_body_buffer_size 128k;

		proxy_buffer_size 64k;
		proxy_buffers 8 64k;
		proxy_busy_buffers_size 256k;
		proxy_temp_file_write_size 256k;
	}
	.....
	.....
}
Restart munin-node and wait for a while
# systemctl restart munin-nodeNow you can check http://your_ip_or_your_domain/munin
Configure Munin to monitor MySQL / MariaDB
Check if perl-Cache-Cache already installed
# yum install perl-Cache-CacheCreate MySQL user for Munin with mysql command below
mysql> CREATE USER 'munin'@'localhost' IDENTIFIED BY 'password';
mysql> GRANT PROCESS, SUPER ON . TO 'munin'@'localhost';
mysql> GRANT SELECT ON mysql.* TO 'munin'@'localhost';
mysql> CREATE DATABASE IF NOT EXISTS muninmonitor;
mysql> GRANT ALL PRIVILEGES ON munin.* TO 'muninmonitor'@'localhost';
mysql> FLUSH PRIVILEGES;
Create configuration file on /etc/munin/plugin-conf.d/mysql_
[mysql_*]
env.mysqlconnection DBI:mysql:mysql;host=127.0.0.1;port=3306
env.mysqluser munin
env.mysqlpassword password
[mysql*]
env.mysqladmin /usr/bin/mysqladmin
env.mysqluser munin
env.mysqlpassword password
Create configuration file on /etc/munin/plugin-conf.d/mysql_innodb_
[mysql_*]
env.mysqlconnection DBI:mysql:mysql;host=127.0.0.1;port=3306
env.mysqluser munin
env.mysqlpassword password
env.cachenamespace munin_mysql_pri

[mysql_innodb]
env.warning 0
env.critical 0
Create shell script to make plugins symbolic link, example on /root/munin_symlink.sh
#!/bin/sh
set -eu
for i in bin_relay_log commands connections files_tables innodb_bpool innodb_bpool_act innodb_insert_buf innodb_io innodb_io_pend innodb_log innodb_rows innodb_semaphores innodb_tnx myisam_indexes network_traffic qcache qcache_mem replication select_types slow sorts table_locks tmp_tables; do
    echo "--- $i ---"
    rm -f /etc/munin/plugins/mysql_$i
    ln -s /usr/share/munin/plugins/mysql_ /etc/munin/plugins/mysql_$i
done
Change permission to 755 and then execute shell script.
# chmod 755 /root/munin_symlink.sh
# /root/munin_symlink.sh
Restart munin and force run munin cron
# systemctl restart munin-node
# sudo -u munin munin-cronHow to Force Munin update html and graphics generation
To regenerate html and graphs in /var/www/html/munin run:
root@serverdiary:~# sudo -u munin munin-cron


Nope. Like all the other tutorials that I’ve read. This will not work. yum installs the files in different locations. I wonder if anyone actually tests these instructions before publishing them