ModSecurity is an open source and great module to securing sites around the world.
ModSecurity protects against Layer 7 attacks.
It will prevent SQL injection (SQLi), local file inclusion (LFI), and cross‑site scripting (XSS).
There are repository from getpagespeed.com, however now they activated subscriptions.
You have a choice use their subscription for 10 USD a month per server or compile it your self.
This article write using official Nginx repository, latest stable version is 1.25.0.
Also Read: How to install and configure Nginx ModSecurity on CentOS 7
How to install ModSecurity
Below is how to compile and install Nginx ModSecurity on CentOS Stream 9
dnf groupinstall "Development Tools"
dnf --enablerepo=crb install gcc-c++ flex bison yajl yajl-devel curl-devel curl GeoIP-devel doxygen zlib-devel
dnf --enablerepo=crb install lmdb lmdb-devel libxml2 libxml2-devel ssdeep ssdeep-devel lua lua-devel pcre-devel
cd /usr/src/
git clone --depth 1 -b v3/master --single-branch https://github.com/SpiderLabs/ModSecurity
cd ModSecurity/
git submodule init
git submodule update
./build.sh
./configure
make
make install
If you see error message fatal: No names found, cannot describe anything.”, you can ignore it.
ModSecurity will be installed on /usr/local/modsecurity
Compile and Install Nginx ModSecurity on CentOS 9 Stream
Now you need to clone ModSecurity-nginx and compile as dynamic module.
cd /usr/src
git clone --depth 1 https://github.com/SpiderLabs/ModSecurity-nginx.git
First, check your Nginx version with command below:
nginx -VExample output:
# nginx -V
nginx version: nginx/1.25.0
built by gcc 11.3.1 20220421 (Red Hat 11.3.1-2) (GCC)
built with OpenSSL 3.0.8+quic 7 Feb 2023 (running with OpenSSL 3.0.9+quic 30 May 2023)
TLS SNI support enabled
configure arguments: --prefix=/etc/nginx --sbin-path=/usr/sbin/nginx --modules-path=/usr/lib64/nginx/modules --conf-path=/etc/nginx/nginx.conf --error-log-path=/var/log/nginx/error.log --http-log-path=/var/log/nginx/access.log --pid-path=/var/run/nginx.pid --lock-path=/var/run/nginx.lock --http-client-body-temp-path=/var/cache/nginx/client_temp --http-proxy-temp-path=/var/cache/nginx/proxy_temp --http-fastcgi-temp-path=/var/cache/nginx/fastcgi_temp --http-uwsgi-temp-path=/var/cache/nginx/uwsgi_temp --http-scgi-temp-path=/var/cache/nginx/scgi_temp --user=nginx --group=nginx --with-compat --with-file-aio --with-threads --with-http_addition_module --with-http_auth_request_module --with-http_dav_module --with-http_flv_module --with-http_gunzip_module --with-http_gzip_static_module --with-http_mp4_module --with-http_random_index_module --with-http_realip_module --with-http_secure_link_module --with-http_slice_module --with-http_ssl_module --with-http_stub_status_module --with-http_sub_module --with-http_v2_module --with-http_v3_module --with-mail --with-mail_ssl_module --with-stream --with-stream_realip_module --with-stream_ssl_module --with-stream_ssl_preread_module --add-module=/home/builder/rpmbuild/BUILD/nginx-1.25.0/ngx_brotli --add-module=/home/builder/rpmbuild/BUILD/nginx-1.25.0/ngx_cache_purge-2.3 --add-module=/home/builder/rpmbuild/BUILD/nginx-1.25.0/ngx_http_geoip2_module-3.4 --with-http_v3_module --with-cc-opt='-O2 -flto=auto -ffat-lto-objects -fexceptions -g -grecord-gcc-switches -pipe -Wall -Werror=format-security -Wp,-D_FORTIFY_SOURCE=2 -Wp,-D_GLIBCXX_ASSERTIONS -specs=/usr/lib/rpm/redhat/redhat-hardened-cc1 -fstack-protector-strong -specs=/usr/lib/rpm/redhat/redhat-annobin-cc1 -m64 -march=x86-64-v2 -mtune=generic -fasynchronous-unwind-tables -fstack-clash-protection -fcf-protection -fPIC' --with-ld-opt='-Wl,-z,relro -Wl,-z,now -pie'
Now you need to download Nginx source, depend on your Nginx version.
In this example is Nginx 1.25.0
cd /usr/src
wget http://nginx.org/download/nginx-1.25.0.tar.gz
tar zxvf nginx-1.25.0.tar.gz
cd nginx-1.25.0
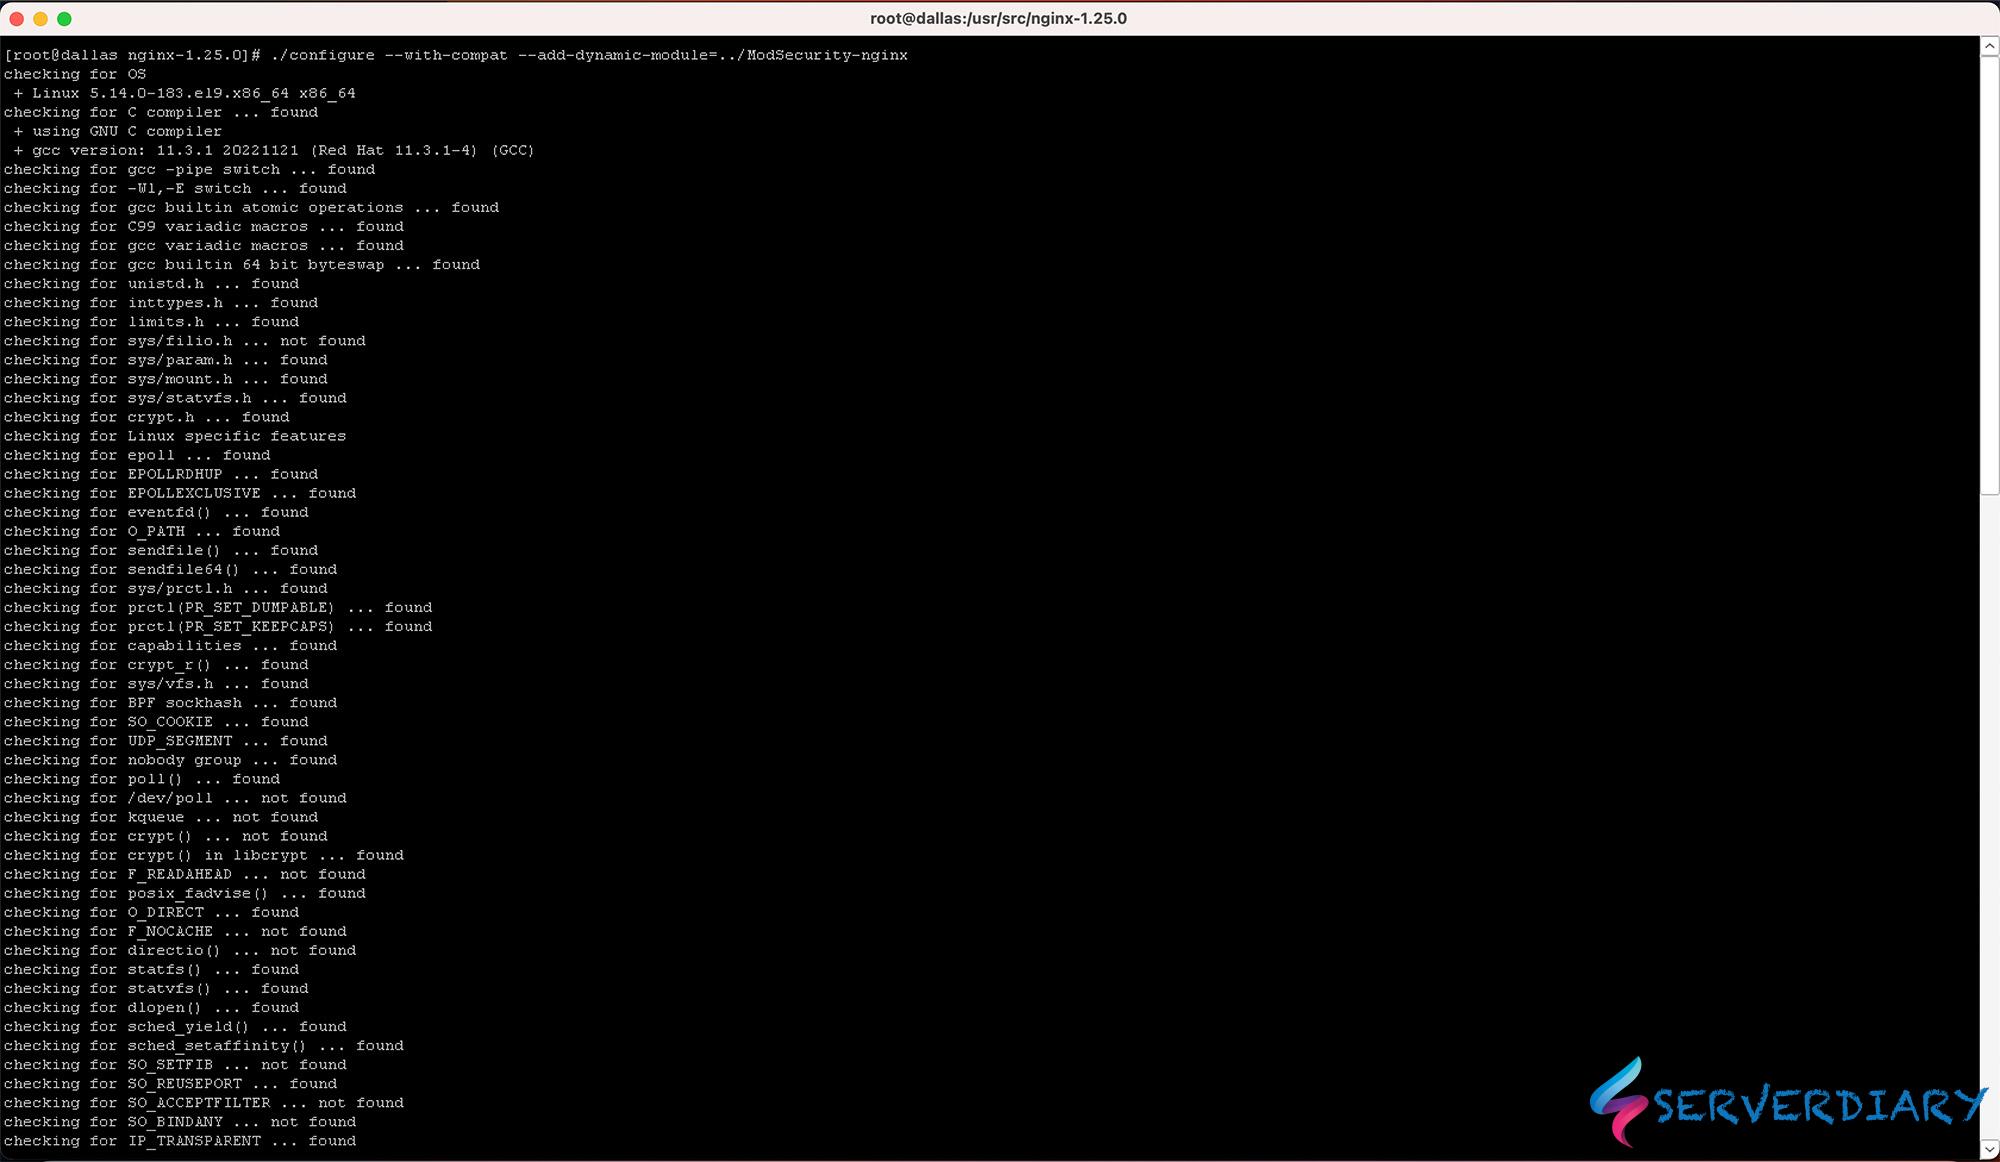
./configure --with-compat --add-dynamic-module=../ModSecurity-nginx
make modules
cp objs/ngx_http_modsecurity_module.so /etc/nginx/modules
cp /usr/src/ModSecurity/modsecurity.conf-recommended /etc/nginx/modsecurity.conf
cp /usr/src/ModSecurity/unicode.mapping /etc/nginx/unicode.mapping
Compiled Nginx ModSecurity located in objs.
Enable SecRuleEngine, edit /etc/nginx/modsecurity.conf and change configuration below:
SecRuleEngine DetectionOnly
to
SecRuleEngine On
Configure Nginx to use ModSecurity module on CentOS 9 Stream
To load ModSecurity on Nginx, edit /etc/nginx/nginx.conf and add this code in top of configuration.
error_log  /var/log/nginx/error.log warn;
pid        /var/run/nginx.pid;

load_module modules/ngx_http_modsecurity_module.so;
And add configuration of Mod Security on your server block with this code:
server {
	.......
	.......
	modsecurity on;
	modsecurity_rules_file /etc/nginx/modsec_includes.conf;
	.......
	.......
}
Get OWASP ModSecurity Core Rule Set (CRS) from https://coreruleset.org or https://www.owasp.org/index.php/Category:OWASP_ModSecurity_Core_Rule_Set_Project
cd /etc/nginx
wget https://github.com/SpiderLabs/owasp-modsecurity-crs/archive/v3.2.0.zip
unzip v3.2.0.zip
mv owasp-modsecurity-crs-3.2.0 owasp-modsecurity-crs
cp owasp-modsecurity-crs/crs-setup.conf.example owasp-modsecurity-crs/crs-setup.conf
Create /etc/nginx/modsec_includes.conf and add code below
include modsecurity.conf
include /etc/nginx/owasp-modsecurity-crs/crs-setup.conf
include /etc/nginx/owasp-modsecurity-crs/rules/*.conf

# Additional custom rules here, example disable Mod Security Rule on RSS URL
SecRule REQUEST_URI "@beginsWith /rss/" "phase:1,t:none,pass,id:'26091902',nolog,ctl:ruleRemoveById=200002"
Check your Nginx configuration with command below:
nginx -t
nginx: the configuration file /etc/nginx/nginx.conf syntax is ok
nginx: configuration file /etc/nginx/nginx.conf test is successful
If no problem, restart nginx with command:
systemctl restart nginxTesting Nginx ModSecurity
Testing Mod Security with SQL Injection
curl -I "https://serverdiary.com/?username=1%27%20or%20%271%27%20=%20%27"If you get 403 Forbidden, ModSecurity is working as expected.
And below example message in /var/log/modsec/audit.log
ModSecurity: Warning. detected SQLi using libinjection. [file "/etc/nginx/coreruleset-4.4.0/rules/REQUEST-942-APPLICATION-ATTACK-SQLI.conf"] [line "46"] [id "942100"] [rev ""] [msg "SQL Injection Attack Detected via libinjection"] [data "Matched Data: s&sos found within ARGS:username: 1' or '1' = '"] [severity "2"] [ver "OWASP_CRS/4.4.0"] [maturity "0"] [accuracy "0"] [tag "application-multi"] [tag "language-multi"] [tag "platform-multi"] [tag "attack-sqli"] [tag "paranoia-level/1"] [tag "OWASP_CRS"] [tag "capec/1000/152/248/66"] [tag "PCI/6.5.2"] [hostname "xxx.xxx.xxx.xxx"] [uri "/"] [unique_id "172199716540.536634"] [ref "v15,13"]
ModSecurity: Access denied with code 403 (phase 2). Matched "Operator `Ge' with parameter `5' against variable `TX:BLOCKING_INBOUND_ANOMALY_SCORE' (Value: `5' ) [file "/etc/nginx/coreruleset-4.4.0/rules/REQUEST-949-BLOCKING-EVALUATION.conf"] [line "222"] [id "949110"] [rev ""] [msg "Inbound Anomaly Score Exceeded (Total Score: 5)"] [data ""] [severity "0"] [ver "OWASP_CRS/4.4.0"] [maturity "0"] [accuracy "0"] [tag "anomaly-evaluation"] [tag "OWASP_CRS"] [hostname "xxx.xxx.xxx.xxx"] [uri "/"] [unique_id "172199716540.536634"] [ref ""]

---oPTkA233---Z--
Testing Mod Security with XSS
curl -I "https://serverdiary.com/?q=%22%3E%3Cscript%3Ealert(1)%3C/script%3E%22"

Message in /var/log/modsec/audit.log
ModSecurity: Warning. detected XSS using libinjection. [file "/etc/nginx/coreruleset-4.4.0/rules/REQUEST-941-APPLICATION-ATTACK-XSS.conf"] [line "82"] [id "941100"] [rev ""] [msg "XSS Attack Detected via libinjection"] [data "Matched Data: XSS data found within ARGS:q: \x22><script>alert(1)</script>\x22"] [severity "2"] [ver "OWASP_CRS/4.4.0"] [maturity "0"] [accuracy "0"] [tag "application-multi"] [tag "language-multi"] [tag "platform-multi"] [tag "attack-xss"] [tag "xss-perf-disable"] [tag "paranoia-level/1"] [tag "OWASP_CRS"] [tag "capec/1000/152/242"] [hostname "xxx.xxx.xxx.xxx"] [uri "/"] [unique_id "172199737537.655451"] [ref "v8,28t:utf8toUnicode,t:urlDecodeUni,t:htmlEntityDecode,t:jsDecode,t:cssDecode,t:removeNulls"]
ModSecurity: Warning. Matched "Operator `Rx' with parameter `(?i)<script[^>]*>[\s\S]*?' against variable `ARGS:q' (Value: `"><script>alert(1)</script>"' ) [file "/etc/nginx/coreruleset-4.4.0/rules/REQUEST-941-APPLICATION-ATTACK-XSS.conf"] [line "108"] [id "941110"] [rev ""] [msg "XSS Filter - Category 1: Script Tag Vector"] [data "Matched Data: <script> found within ARGS:q: \x22><script>alert(1)</script>\x22"] [severity "2"] [ver "OWASP_CRS/4.4.0"] [maturity "0"] [accuracy "0"] [tag "application-multi"] [tag "language-multi"] [tag "platform-multi"] [tag "attack-xss"] [tag "xss-perf-disable"] [tag "paranoia-level/1"] [tag "OWASP_CRS"] [tag "capec/1000/152/242"] [hostname "xxx.xxx.xxx.xxx"] [uri "/"] [unique_id "172199737537.655451"] [ref "o2,8v8,28t:utf8toUnicode,t:urlDecodeUni,t:htmlEntityDecode,t:jsDecode,t:cssDecode,t:removeNulls"]
ModSecurity: Warning. Matched "Operator `Rx' with parameter `(?i)<[^0-9<>A-Z_a-z]*(?:[^\s\x0b\"'<>]*:)?[^0-9<>A-Z_a-z]*[^0-9A-Z_a-z]*?(?:s[^0-9A-Z_a-z]*?(?:c[^0-9A-Z_a-z]*?r[^0-9A-Z_a-z]*?i[^0-9A-Z_a-z]*?p[^0-9A-Z_a-z]*?t|t[^0-9A-Z_a-z]*?y[^0-9A-Z_a-z]*?l[^0-9A (4341 characters omitted)' against variable `ARGS:q' (Value: `"><script>alert(1)</script>"' ) [file "/etc/nginx/coreruleset-4.4.0/rules/REQUEST-941-APPLICATION-ATTACK-XSS.conf"] [line "200"] [id "941160"] [rev ""] [msg "NoScript XSS InjectionChecker: HTML Injection"] [data "Matched Data: <script found within ARGS:q: \x22><script>alert(1)</script>\x22"] [severity "2"] [ver "OWASP_CRS/4.4.0"] [maturity "0"] [accuracy "0"] [tag "application-multi"] [tag "language-multi"] [tag "platform-multi"] [tag "attack-xss"] [tag "xss-perf-disable"] [tag "paranoia-level/1"] [tag "OWASP_CRS"] [tag "capec/1000/152/242"] [hostname "xxx.xxx.xxx.xxx"] [uri "/"] [unique_id "172199737537.655451"] [ref "o2,7v8,28t:utf8toUnicode,t:urlDecodeUni,t:htmlEntityDecode,t:jsDecode,t:cssDecode,t:removeNulls"]
ModSecurity: Warning. Matched "Operator `Rx' with parameter `(?i)\b(?:eval|set(?:timeout|interval)|new[\s\x0b]+Function|a(?:lert|tob)|btoa|prompt|confirm)[\s\x0b]*\(' against variable `ARGS:q' (Value: `"><script>alert(1)</script>"' ) [file "/etc/nginx/coreruleset-4.4.0/rules/REQUEST-941-APPLICATION-ATTACK-XSS.conf"] [line "713"] [id "941390"] [rev ""] [msg "Javascript method detected"] [data "Matched Data: alert( found within ARGS:q: \x22><script>alert(1)</script>\x22"] [severity "2"] [ver "OWASP_CRS/4.4.0"] [maturity "0"] [accuracy "0"] [tag "application-multi"] [tag "language-multi"] [tag "attack-xss"] [tag "xss-perf-disable"] [tag "paranoia-level/1"] [tag "OWASP_CRS"] [tag "capec/1000/152/242"] [hostname "xxx.xxx.xxx.xxx"] [uri "/"] [unique_id "172199737537.655451"] [ref "o10,6v8,28t:htmlEntityDecode,t:jsDecode"]
ModSecurity: Access denied with code 403 (phase 2). Matched "Operator `Ge' with parameter `5' against variable `TX:BLOCKING_INBOUND_ANOMALY_SCORE' (Value: `20' ) [file "/etc/nginx/coreruleset-4.4.0/rules/REQUEST-949-BLOCKING-EVALUATION.conf"] [line "222"] [id "949110"] [rev ""] [msg "Inbound Anomaly Score Exceeded (Total Score: 20)"] [data ""] [severity "0"] [ver "OWASP_CRS/4.4.0"] [maturity "0"] [accuracy "0"] [tag "anomaly-evaluation"] [tag "OWASP_CRS"] [hostname "xxx.xxx.xxx.xxx"] [uri "/"] [unique_id "172199737537.655451"] [ref ""]
---GI5eXgQu---Z--Check on your rules for blacklist user agent, for Comodo rules is bl_agents
curl -I -H "User-Agent: floodgate" https://serverdiary.comExample response:
# curl -I -H "User-Agent: floodgate" https://serverdiary.com
HTTP/1.1 403 Forbidden
Server: nginx
Date: Sat, 26 Oct 2019 18:07:01 GMT
Content-Type: text/html
Content-Length: 146
Connection: keep-alive
If the respons is forbidden, your Nginx ModSecurity is working.
Don’t forget to check /var/log/modsec/audit.log there is many rules is false positive.
Example, OWASP ModSecurity Core Rule Set rules will block your WordPress admin post.


